Cloud Hosting With Heroku
Table of Contents
- Putting Your Site On The Cloud
- Configuring Your App For Heroku
- Deploy Your App To Heroku
- Viewing Your New Heroku Hosted App
- Updating Your Heroku App
Permission denied (publickey)Error- Resources
Putting Your Site On The Cloud
Heroku is a great cloud based host that offers free accounts for developers with very small sites or apps that won’t take up a lot of resources.
 Heroku
It’s a perfect way to publish your site or app for free. We are going to use Heroku to host our app.
Configuring Your App For Heroku
- Sign Up for a free Heroku account by going to the Heroku site
and clicking the
Sign Up button.
 - Follow the instructions to confirm your account and create a password.
Creating The Procfile
-
In the Sublime Text program’s top menu choose
File -> New Fileto create a new blank file. Create New File In Sublime Text
 -
Copy and Paste the following code into that file.
web: node app.js
Saving The Procfile
-
In the Sublime Text program’s top menu choose
File -> Save As....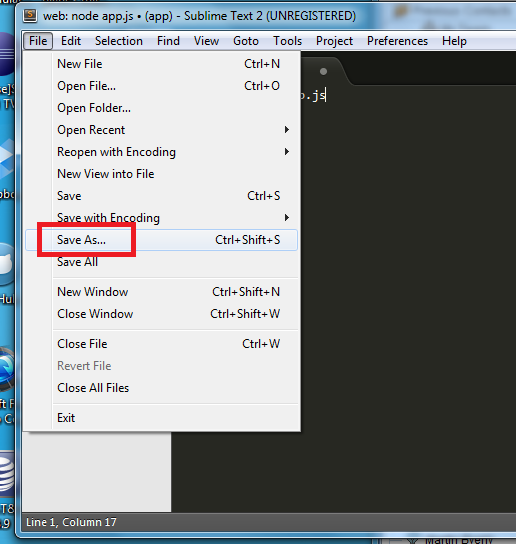
-
Save the file as
Procfilein yourappdirectory. Don’t add any type of file extension like.txt.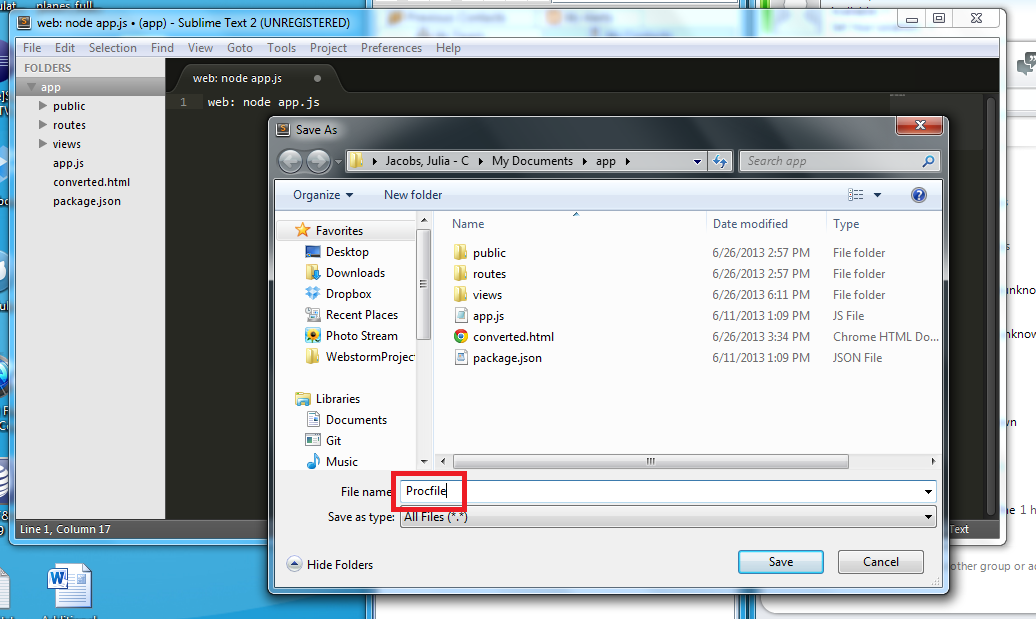
Logging Into Heroku
- If your Command Window is still open, close it to stop the web server.
- Follow the previous instructions
on opening it in your
appdirectory. - In the Command Window type:
heroku login
Enter the email and password of your new Heroku account and then allow Heroku to generate a public key.
Deploy Your App To Heroku
Heroku manages your application in it’s own Git repository. Git is a version control system like Subversion or Perforce. If you want to know more about Git check out this site. If you want to know more about working with Heroku’s Git repository take a look here.
Don’t worry though, you don’t need to know anything about Git to get your app on Heroku. Just follow these instructions.
You also don’t need to worry about installing Git as the Heroku Toolbelt you already installed includes it.
- Follow the previous instructions
on opening your Command Window in your
appdirectory if it isn’t already opened. - Make sure you are logged into Heroku. If not or just not sure, type the following in the Command Window:
      heroku logout
      heroku login
- Type the following
gitcommands in the Command Window. Also note that you might get some warnings about line endings. Don’t worry about that. Replaceyou@example.comwith the email address you used for your Heroku account andYour Namewith your name.
      git init
      git add .
      git config --global user.email "you@example.com"
      git config --global user.name "Your Name"
      git commit -m "my first commit"
      heroku create
      git push heroku master
The git commands will:
- Turn your app directory into a local git repository,
- Add and commit all of the app files to the repository
- Create a Heroku website (also called an app)
- Deploy the local git repository to the remote Heroku repository and app
Viewing Your New Heroku Hosted App
After the app has finished deploying to Heroku, you can open it up
in your browser by typing heroku open in the Command Window.
You should then see your new app on your new Heroku app!
Be sure to check it out on a mobile device or tablet.
Updating Your Heroku App
If you want to make changes to your app and then load those changes back up to Heroku:
- Make and save your code changes in Sublime Text.
- Open up your
appdirectory in the Command Window. You can go back to the directions. - Type the following git commands:
      git add .
      git commit -m "some message describing your changes"
      git push heroku master
This is where you might get a Permission denied (publickey) error.
Permission denied (publickey) Error
A lot of permission errors occur because of public / private key craziness. If you run into any Permission denied (publickey) errors
during this process, get with me and I will help.
If you’re looking for ways to fix it yourself, check out Heroku’s guide to managing Your SSH Keys. If that doesn’t work, do some Googleing. You’ll find ALOT of people who have ran into the same problem and posted fixes.
Some posted fixes might be documented with *nix commands, so make sure you use DOS command equivalants in the Command Window. Here’s a good DOS to Linux commands guide.
Resources
Want to learn more? Check out these resources.